This was by far the most frustrating project I ever made. It took about 130 hours of work but in the end it totally worth it.
At my work place I came across this beautiful Pinball machine. It was stored somewhere in the back of a deposit, forgotten there and collecting dust.
This particular model was produced in 1987 and there were only 1500 units ever made. So a really nice limited-edition machine.
I pulled it out, power it up and try to see what´s wrong with it. I immediately noticed it has no power. The power supply was toasted. So here´s the question: WHY? Going on with the inspection I noticed that some of the fuses were blown, but one of them had 1 Terrawatt fuse (a big screw). I assumed that the fuse kept on blowing so someone just replaced it with a screw. PROBLEM SOLVED... NOT!!!
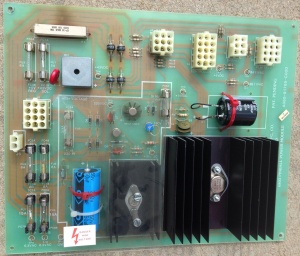
Here, up, is the toasted power supply. Of course it was impossible to just buy a new one so I proceeded to fix this one. It was time to analyze what actually happened. There was a short-circuit somewhere, and that was causing the fuses to blow. All the electronics from it were tested and a few new ones were ordered and replaced.
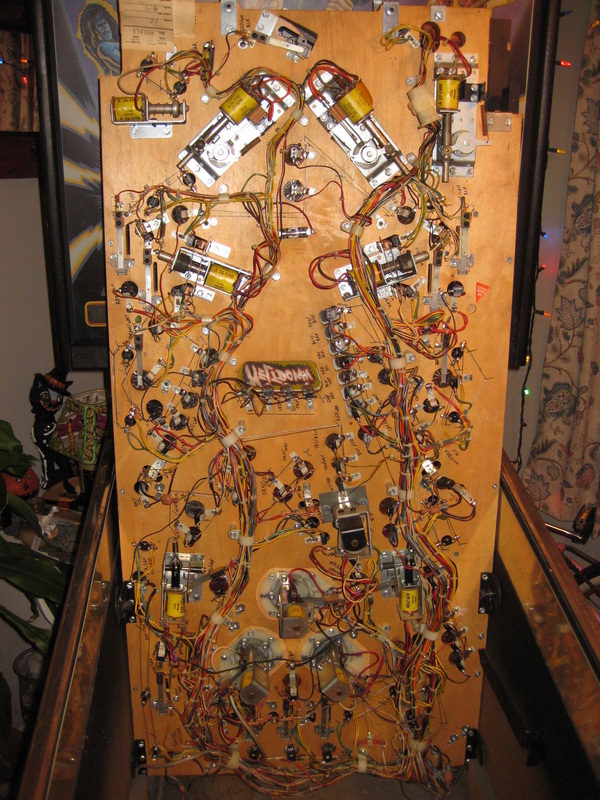
So the next logical step was for me to take a multi-meter and trance each and every of this wires. Here is the frustrating part: some of them were interrupted and some of them were in short-circuit. Changing them was a really difficult job and one definitely needs a lot of patience for this. The wires go from the underneath of the play-field to the logical board and power supply in the cabinet unit.
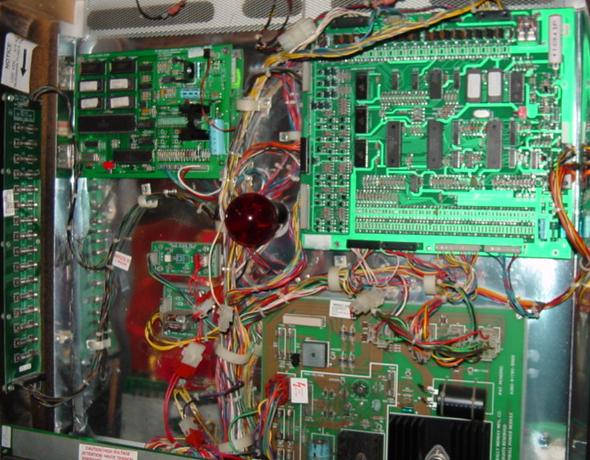
Up in the left there is the audio board. The amplifier was old and it the sound was really ´´noisy´´ and dirty, so I changed that one to. Next, on the upper right, the big one is the controller board, responsible with lights flickering, control of actuators, electronic display, ball release, etc. Some of the transistors for the lights were blown also, due to the short-circuits in the wire loom, so after changed those ones too, all the lights appeared to work just fine. Under the audio board, was a solid state relay. Thanks God at least that one was working good. And we have the power source on the low right side. The fuse panel can be observed on the left wall.
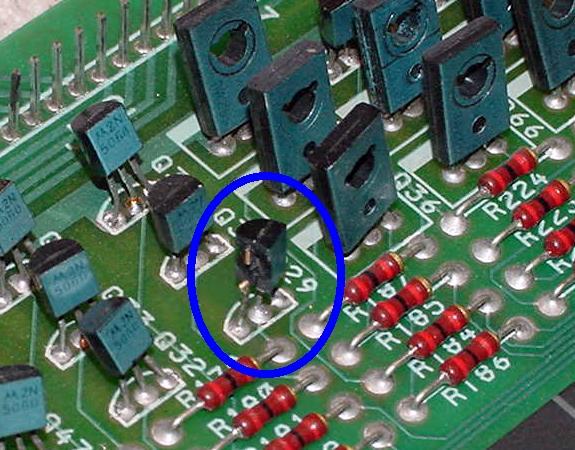
So here is an example of a blown transistor, on the control board. Most of them were in good shape at a visual inspection, but when tested with the multi-meter, they were not working. So I changed about 90% of them.
After that I decided is better to change all the lights with LED lights. 140 in total. Thing was that a LED had not enough power consumption to set off the transistors gate, so on each light I mounted a 10Kohm resistor also along with a diode, because it was AC current on most of them. At a closer look you could see that they actually ´´flicker´´ at a very high rate, but that was not uncomfortable. I could had mounted a condenser to smooth that out, but I decided is too much work. It doesn´t really worth it.
After that I decided is better to change all the lights with LED lights. 140 in total. Thing was that a LED had not enough power consumption to set off the transistors gate, so on each light I mounted a 10Kohm resistor also along with a diode, because it was AC current on most of them. At a closer look you could see that they actually ´´flicker´´ at a very high rate, but that was not uncomfortable. I could had mounted a condenser to smooth that out, but I decided is too much work. It doesn´t really worth it.
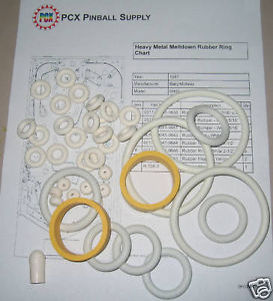
Now, for the last piece of work, it was the time for some new rubber bands. I aquired them from e-bay and they were built especially for this machine. Really nice. They all fit perfect.
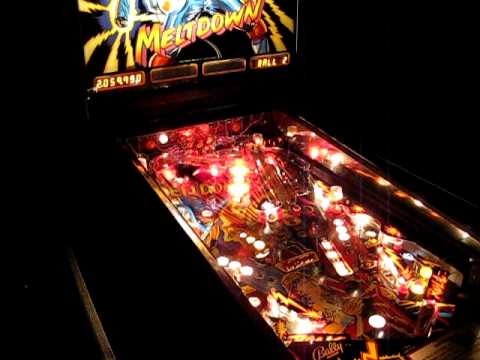
So this is how it looks with the normal lights on. Unfortunately I do not have any pics with it with LED, but it was a lot better. The LED´s respond much faster, are brighter and the game of lights became a lot more interesting, offering a more robust experience. Also the power supply runs a little bit more cooler, since there is not that much power consumption.
